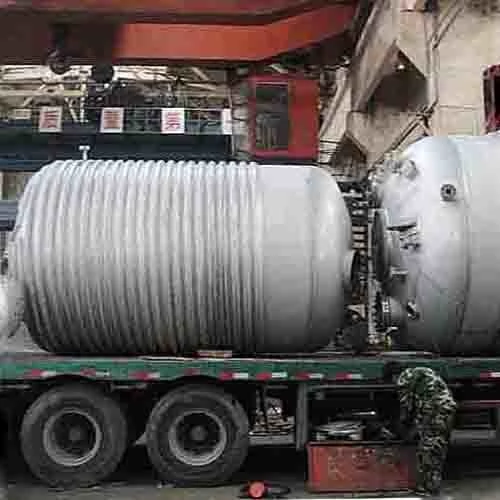
Non-Destructive Testing in Pressure Vessel Production (Part Two)

4. Penetration Testing for Pressure Vessels
- Process Unveiled: Initiates by coating the component surface with a penetrant containing fluorescent or coloring dye, allowing capillary action to facilitate penetration into surface defects. After removal of excess penetrant, an imaging agent is applied to attract retained penetrant in defects. Under a specific light source, the trace of penetrant at defects is displayed, unveiling defect appearance and distribution.
Its Major Characteristics
- Applicable to any material, excluding those with a loose or porous structure.
- Facilitates a comprehensive inspection for parts with defects in multiple directions in a single operation.
- The influence of surface finish and operator skill on test results is substantial.
- Effective in detecting surface defects, while inner or closed surface defects remain undetectable.
- Possesses lower detection sensitivity compared to magnetic particle detection.
5. Time of Flight Diffraction (TOFD) Technique
- Detection Precision: Involves generating a waveform at the tip of a discontinuous defect, converting it into a diffraction wave with a broad range of angles. The technique records the time of flight of the signal, allowing for the measurement of defect height and precise quantification.
- Technological Insight: Leveraging two symmetrically arranged pulse detectors along the centerline of the weld, the TOFD detection technology employs an unfocused longitudinal wave beam to detect defects. The receiving detector determines defect position and height by analyzing the diffraction signal and its time difference.
The Main Features
- A single scan covers the entire weld area with remarkable detection speed.
- Exhibits a high detection rate, proving effective for defects with poor directivity.
- Capable of detecting various types of defects without sensitivity to their direction.
- Identifies defects extending to the surface with precision.
- Ensures precise quantification and positioning of the vertical direction of defects, boasting an accuracy error of less than 1 mm.
- When combined with the pulse reflection method, the detection effect is enhanced, achieving a coverage rate of 100%.
In conclusion, these testing methodologies play pivotal roles in ensuring pressure vessel integrity. Their distinctive features cater to different aspects of defect detection, offering a comprehensive approach to uphold safety and quality standards in the manufacturing landscape.

